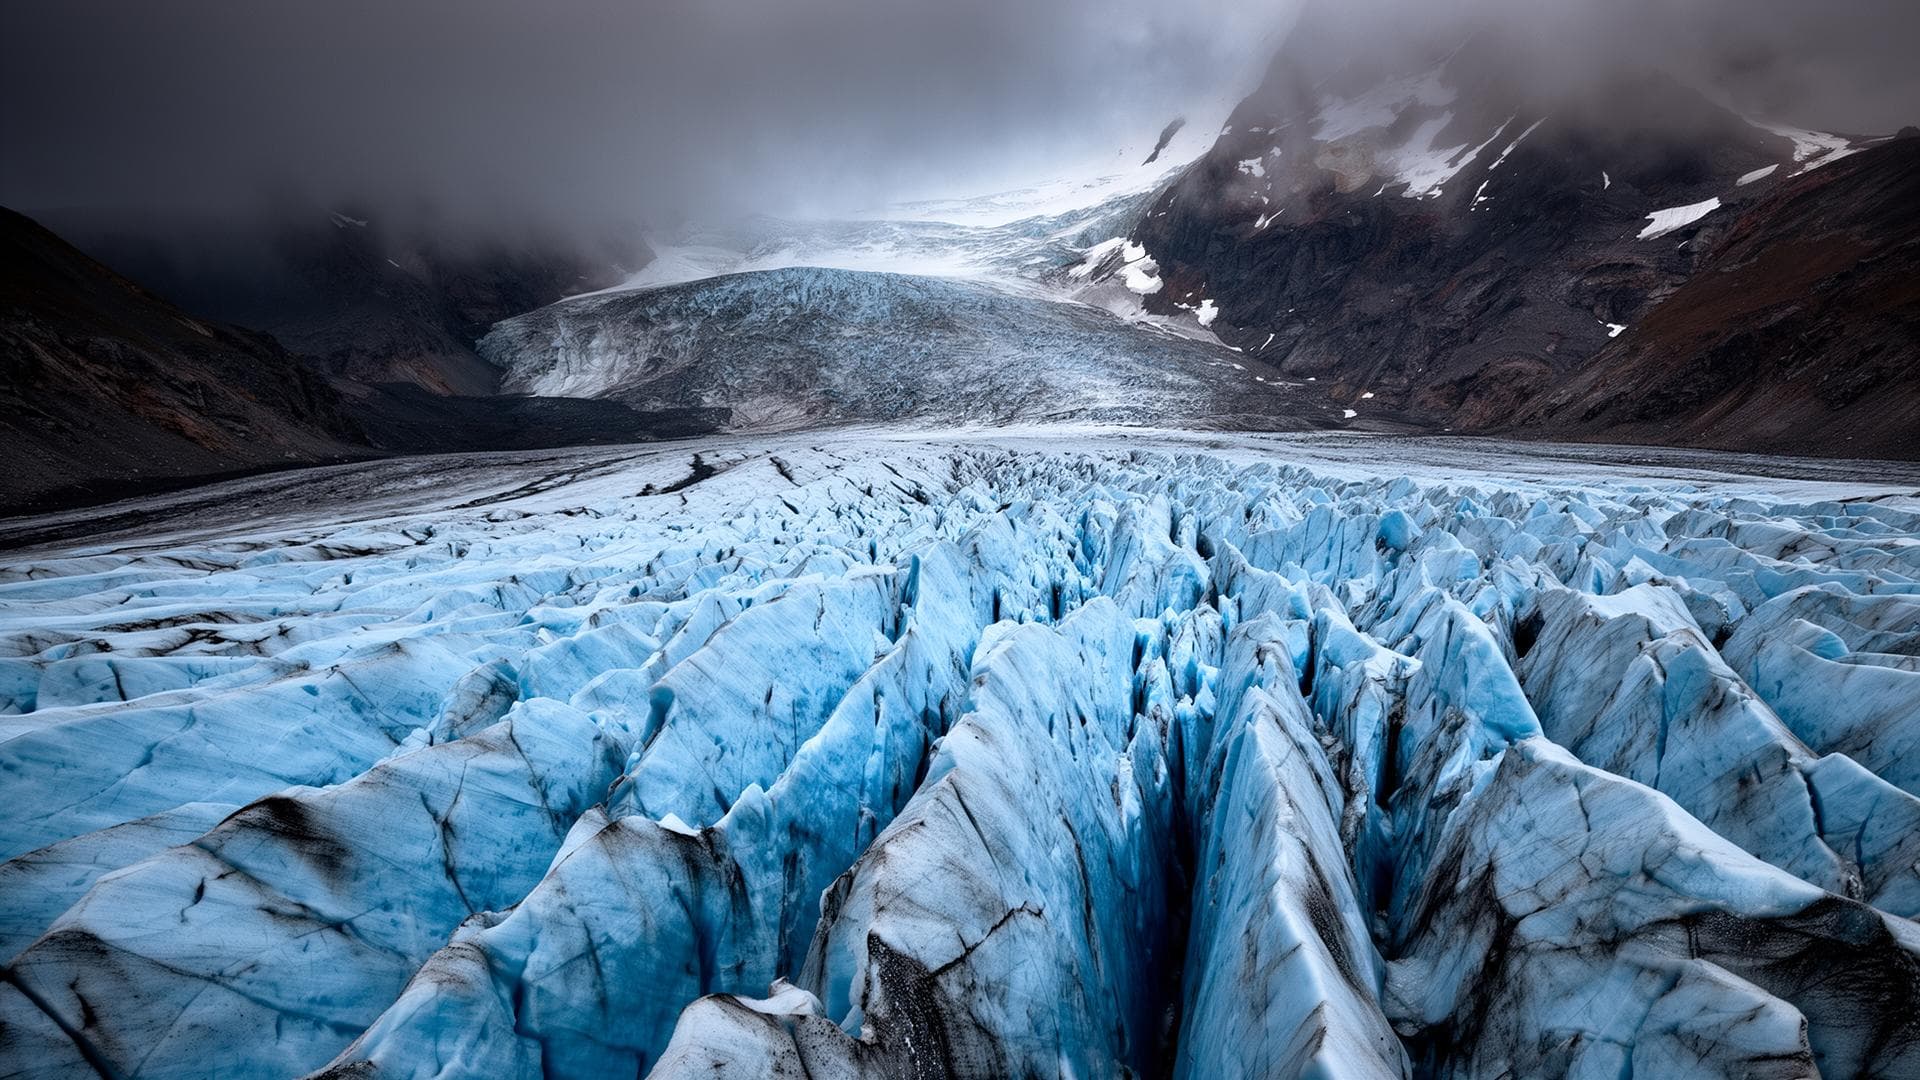
Roping Up on a Glacier: Technique, Spacing and Gear
Written by Victor Michel — history enthusiast and passionate alpinist based in Chamonix. Published July 22, 2026
Roping up on a glacier links rope team members with a taut rope, spaced 10 to 15 m apart depending on team size, to arrest a fall into a crevasse hidden under a snow bridge. Figure-8 knot at the ends, butterfly knot or a self-locking sling in the middle, self-rescue gear (ice screws, pulley, cord) always within reach.
Key takeaways
- Spacing: 10 to 15 m depending on team size — around 12 to 15 m for a 2-person team per ENSA, closer to 10 m for a 3-person team
- Knots: figure-8 at the rope ends, butterfly knot or a sling on a self-locking hitch for intermediate points
- A 3-person team is generally recommended without a guide: more hands to arrest a fall and carry out the rescue
- Minimum self-rescue gear per person: 2 ice screws, a pulley, a cord with a self-locking hitch (never dyneema)
- Rope already recommended on this site: 30-50 m (8-9 mm) for the Goûter route, 50-60 m for the Three Monts traverse
Why rope up on a glacier
A crevassed glacier hides fissures that can run deep, covered by fragile snow bridges that are often invisible to the eye. Under the effect of heat, a bridge that is solid in the early morning can weaken within hours and give way underfoot, according to Objectif Alpinisme. Another risk, just as real where no crevasses are visible, is slipping — with no natural anchor point like on rock, only the rope team can arrest a fall before it accelerates. A rule shared by every school and professional guide: never move on a glacier unroped.
2, 3 or 4-person team: which configuration to choose
The number of people in a rope team determines both its speed and its ability to hold, then rescue, a member who falls into a crevasse. Professional guides agree on the trade-off: the more members on the rope, the safer it is in a fall, but the slower the progression, especially through technical terrain.
| Configuration | Advantages | Drawbacks | Typical spacing |
|---|---|---|---|
| 2-person team | Fast, simple to set up, easy to adjust rope length | Only one partner to arrest a fall and lead the self-rescue | ≈ 12-15 m |
| 3-person team | More hands to arrest a fall and carry out the rescue | Slower progression, longer manoeuvres on technical terrain | ≈ 10-15 m |
| 4-person team | Safer than two independent 2-person teams on a heavily crevassed glacier | More complex coordination, the slowest configuration | ≈ 10-12 m |
| Steep slope (slip risk) | Immediate reaction, less rope to manage | Less margin if a crevasse appears regardless | 1-2 m (short-roping) |
The 2-person team is most common in a guide-client setup, with the guide handling the pulley rescue and self-rescue skills; among amateurs without a guide, a 3-person team is generally recommended for the extra safety margin it provides.
Step-by-step technique: roping up on a glacier
Standard roping-up sequence before setting out on a crevassed glacier, to adapt to team size and terrain.
- 1
Choose the right rope
A single rope of 30 to 50 m (8 to 9 mm diameter) is enough for the Goûter route; a 50 to 60 m rope is recommended for the Three Monts traverse, notably for the 50 m rappel at Col du Mont Maudit.
- 2
Tie in at the ends
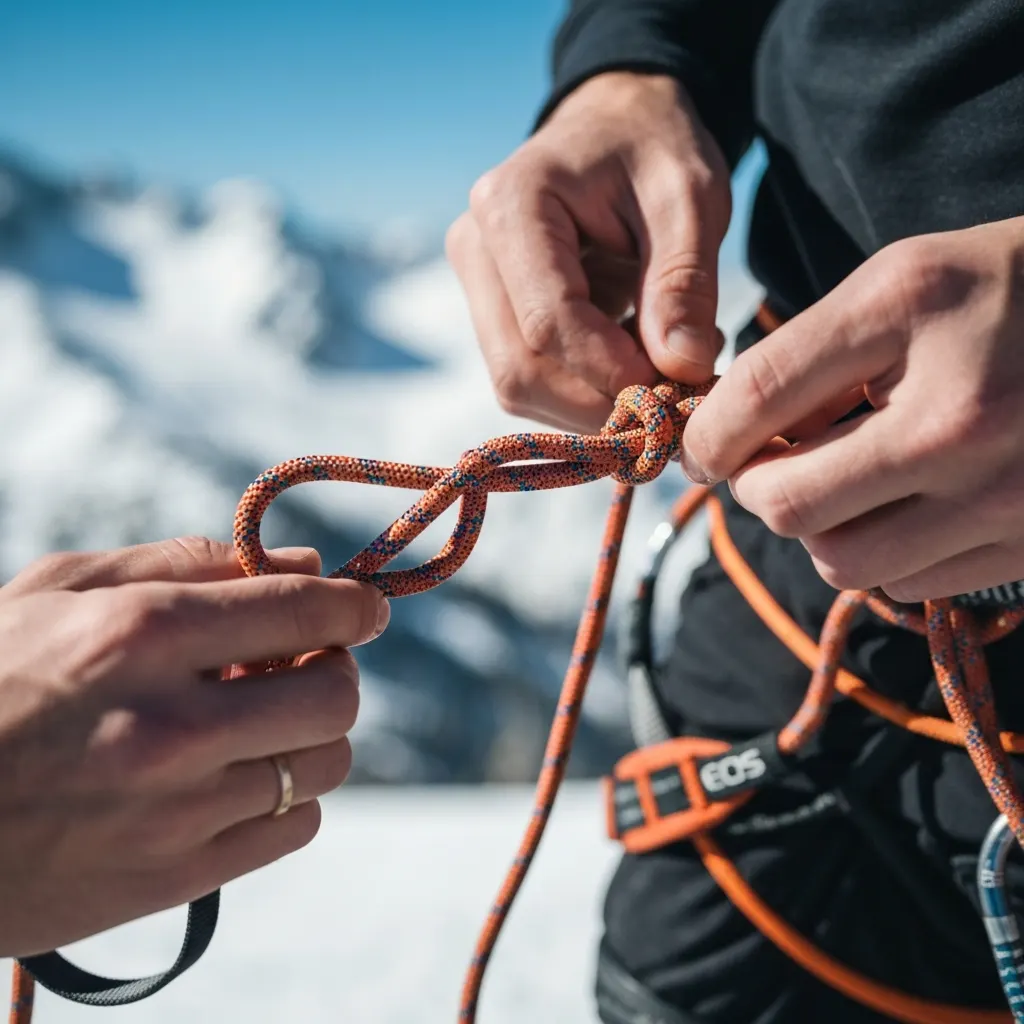
Each climber at the ends of the rope ties directly onto their harness with a figure-8 knot.
- 3
Tie in the intermediate points
On a 3 or 4-person team, the middle climber(s) tie in with a butterfly knot, or via a sling attached to a self-locking hitch (braided prusik) on the rope — easier to adjust in length.
- 4
Set the spacing
Allow 10 to 15 m between each member depending on team size and terrain: more on a flat, heavily crevassed glacier, much less on a steep slope.
- 5
Keep the rope taut
The rope must stay taut at all times, without excess slack, to arrest a fall immediately — while remaining supple enough not to unbalance a teammate on uneven ground.
- 6
Keep self-rescue gear within reach
Ice screws, pulley and self-locking cord should stay accessible on the harness, never buried at the bottom of the pack.
- 7
Adapt the technique on steep terrain
When the risk of slipping outweighs that of a crevasse, shorten the rope to 1-2 m (short-roping) to react immediately to a loss of balance.
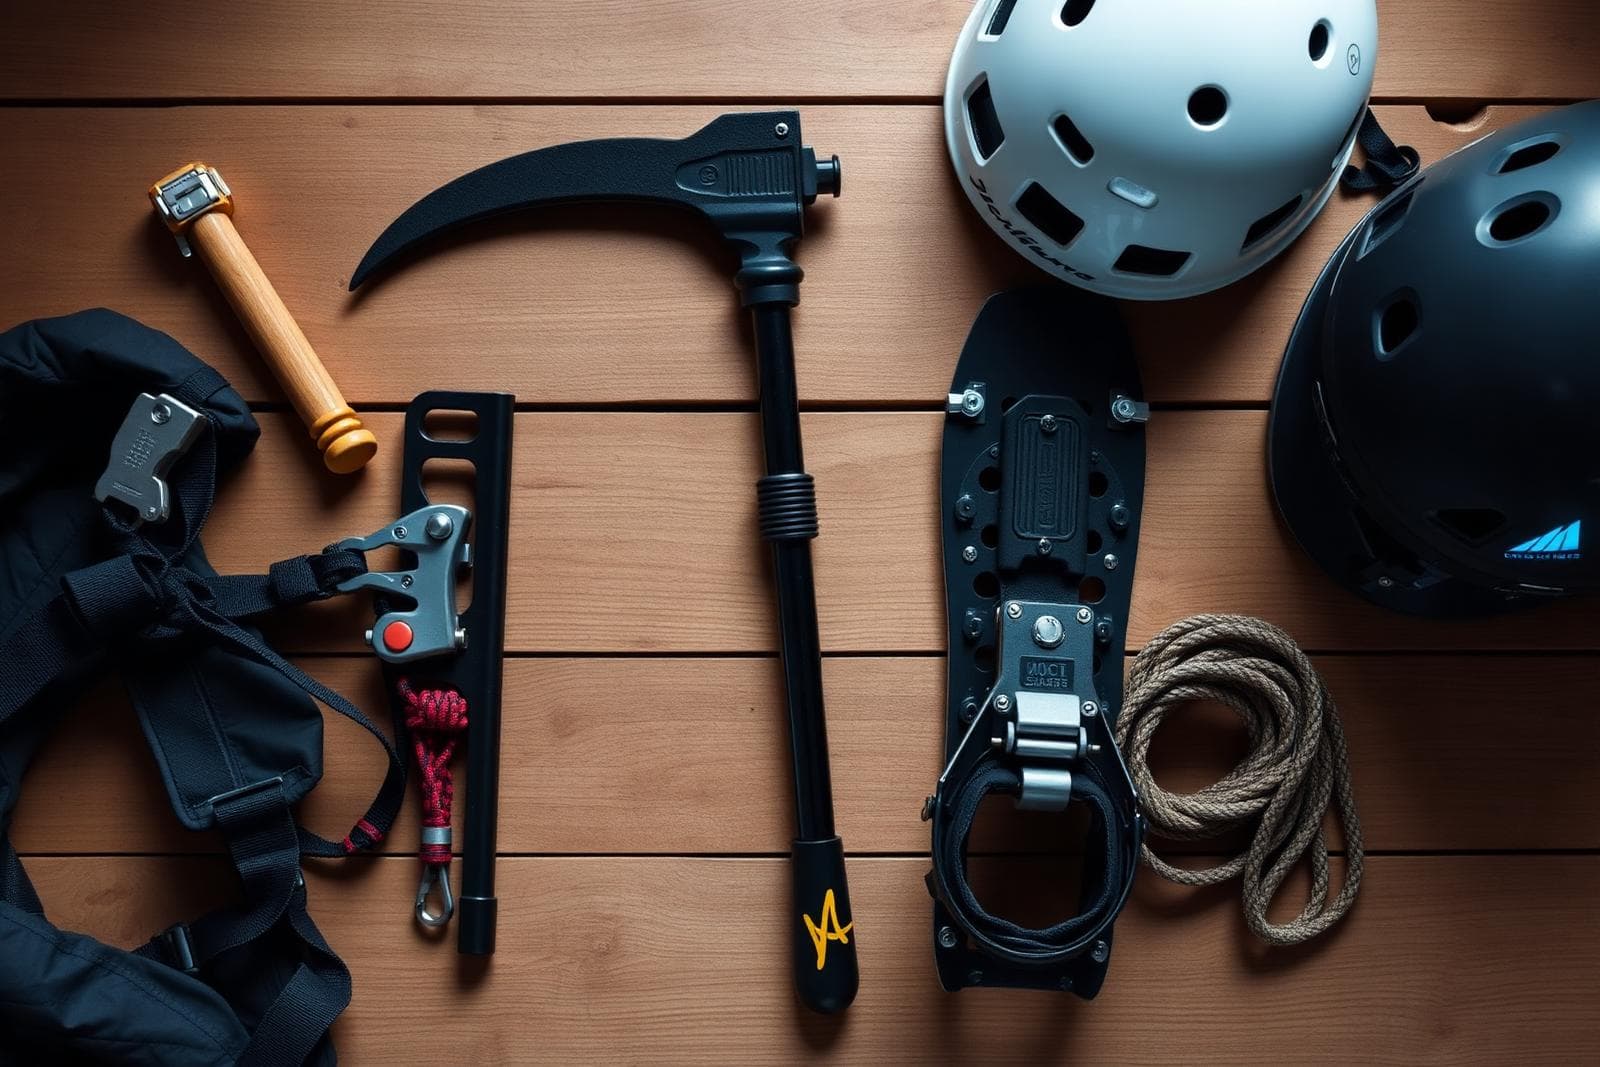
Self-rescue gear for a crevasse fall
If a teammate falls into a crevasse, the rope team needs to set up a pulley haul system to lift them out, while waiting if needed for PGHM mountain rescue. Minimum gear recommended by professional guides, per person:
- Two ice screws, for an anchor in solid ice
- A pulley (micro-traction type) for the haul system
- A cord with a self-locking hitch (prusik or Machard) — never dyneema, which doesn't bite the rope enough
- Two 120 cm slings with locking carabiners
- A mechanical ascender (Tibloc or Ropeman type) for self-rescue
This gear is no substitute for training: pulley-hauling and self-rescue manoeuvres are learned on a supervised course (ENSA, guide offices) before any unsupervised attempt.
Common mistakes
- Leaving slack in the rope on a flat glacier, thinking it softens jerks
- Keeping the same spacing on a steep slope as on flat terrain, when the risk shifts from crevasse to slipping
- Setting out as a 2-person team without experience or mastery of the pulley haul
- Not carrying self-rescue gear, relying on another rope team or PGHM to intervene
- Using a dyneema sling as a self-locking hitch — it doesn't bite the rope enough
Sources and resources
Read next
FAQ
Why do you need to rope up on a glacier?
Crevasses are sometimes hidden by fragile, invisible snow bridges that weaken with heat. Roping up lets the team arrest a teammate's fall — on a glacier, never move without a rope.
What distance should you leave between rope team members on a glacier?
Generally 10 to 15 m depending on team size: around 12 to 15 m for a 2-person team per ENSA, closer to 10 m for a 3-person team, and just 1 to 2 m on steep slopes where slipping is the main risk.
2-person or 3-person team: which to choose without a guide?
A 3-person team is generally recommended without a guide: more hands to arrest a fall and carry out the rescue, even though progress is slower than with two.
Which knot should you use to rope up on a glacier?
A figure-8 knot at both ends of the rope; climbers at intermediate positions (3-person teams or more) tie in with a butterfly knot or a sling attached to a self-locking hitch.
What gear do you need for crevasse self-rescue?
At minimum, two ice screws, a pulley for the haul system, a cord with a self-locking hitch (never dyneema) and two 120 cm slings per person, according to professional guides.
How do you manage rope slack on a glacier?
The rope must stay taut at all times to arrest a fall immediately, while remaining supple enough not to unbalance a teammate on uneven ground.
How much rope do you need to climb Mont Blanc?
A single rope of 30 to 50 m (8-9 mm) is enough for the Goûter route; a 50 to 60 m rope is recommended for the Three Monts traverse, notably for the 50 m rappel at Col du Mont Maudit.
Is there training to learn glacier roping before Mont Blanc?
Yes: ENSA and several guide offices offer courses dedicated to roped travel and crevasse rescue, a recommended prerequisite before any unsupervised attempt.